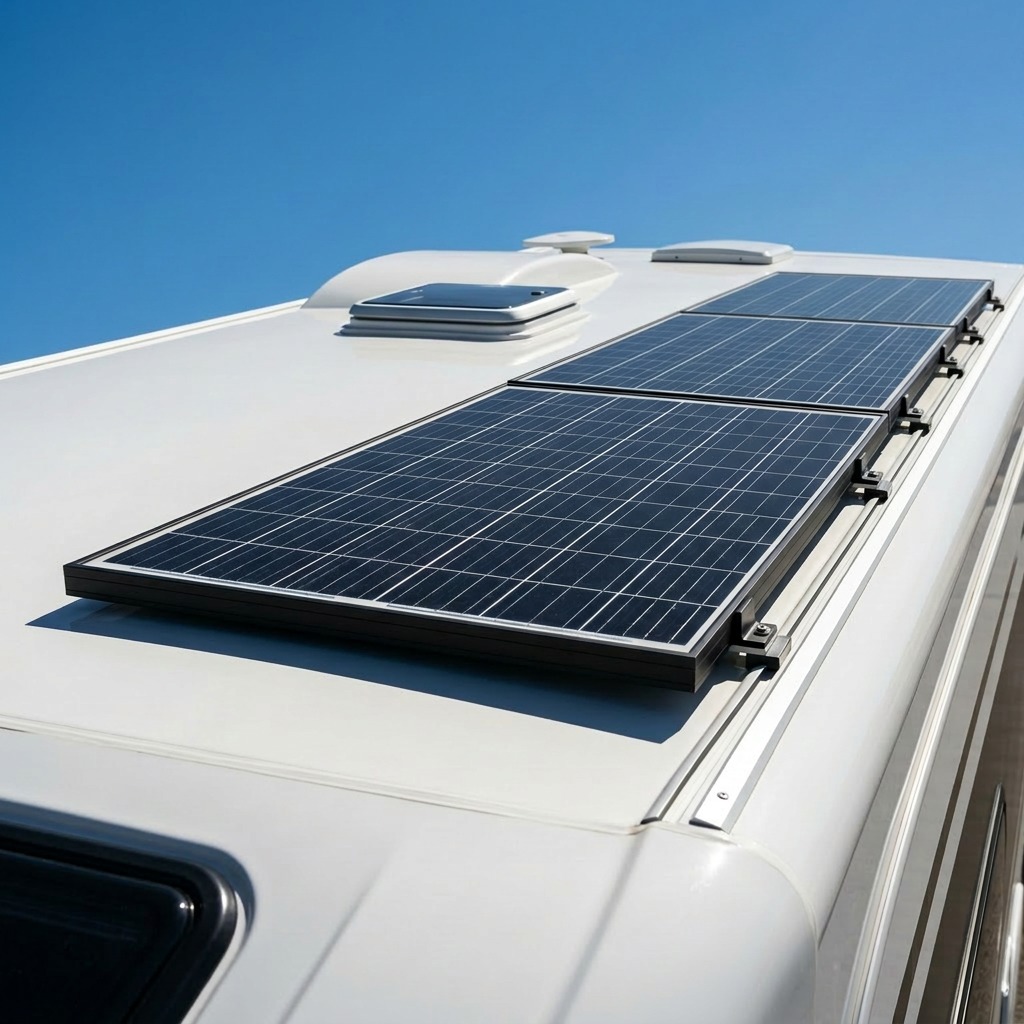
Start with the energy you want to recover each day
Your array does not need to cover every possible appliance you own. It needs to recover the energy you expect to use on a normal day. Lights, fans, device charging, routers, and moderate inverter use are very different from trying to run large heating or cooling loads for long periods.
Write down the appliances you use most often, how many watts each one draws, and how long each one runs. That gives you the watt-hour target that drives the rest of the solar math.
Use practical solar sizing, not ideal-case panel ratings
Panel labels describe ideal output, but real RV systems lose energy through heat, angle, wiring, controller behavior, and battery charging limits. The solar sizing method on this site uses (daily watt-hours ÷ 0.7) ÷ sun hours, which intentionally includes about 30 percent overhead. That keeps the plan grounded in the real world rather than the best hour of the best day.
If your campsites are commonly shaded or your travel season includes short winter days, use a more conservative mindset rather than assuming brochure conditions.
Understand the rest of the charging path
- Panels collect energy.
- A charge controller manages how that energy reaches the battery bank.
- The battery bank stores the energy for later use.
- An inverter matters only for appliances that need AC power.
This order helps beginners avoid buying a larger inverter before they have enough battery or charging capacity to support the way they want to use it.
A simple upgrade path most RVers can live with
For many rigs, the most practical first solar upgrade is enough panel and battery capacity to handle lights, fans, charging, and light inverter loads without daily anxiety. Add more only after you know what your actual camping pattern looks like. If you repeatedly end days with low battery after decent sun, either your array is small, your loads are larger than expected, or your storage is the bottleneck.
- Prioritize roof space and shading realities before chasing maximum nameplate watts.
- Keep cable runs tidy and protected to reduce avoidable losses and service issues.
- Expect a generator or shore-power recharge strategy if you camp in tree cover or poor weather for long stretches.
Common beginner mistakes
- Sizing by panel count before calculating energy use.
- Assuming every destination provides strong full-day sun.
- Adding an inverter for loads the battery bank cannot support comfortably.
- Confusing battery nameplate size with routinely usable capacity.
- Ignoring the difference between a sunny travel brochure and your actual camping pattern.